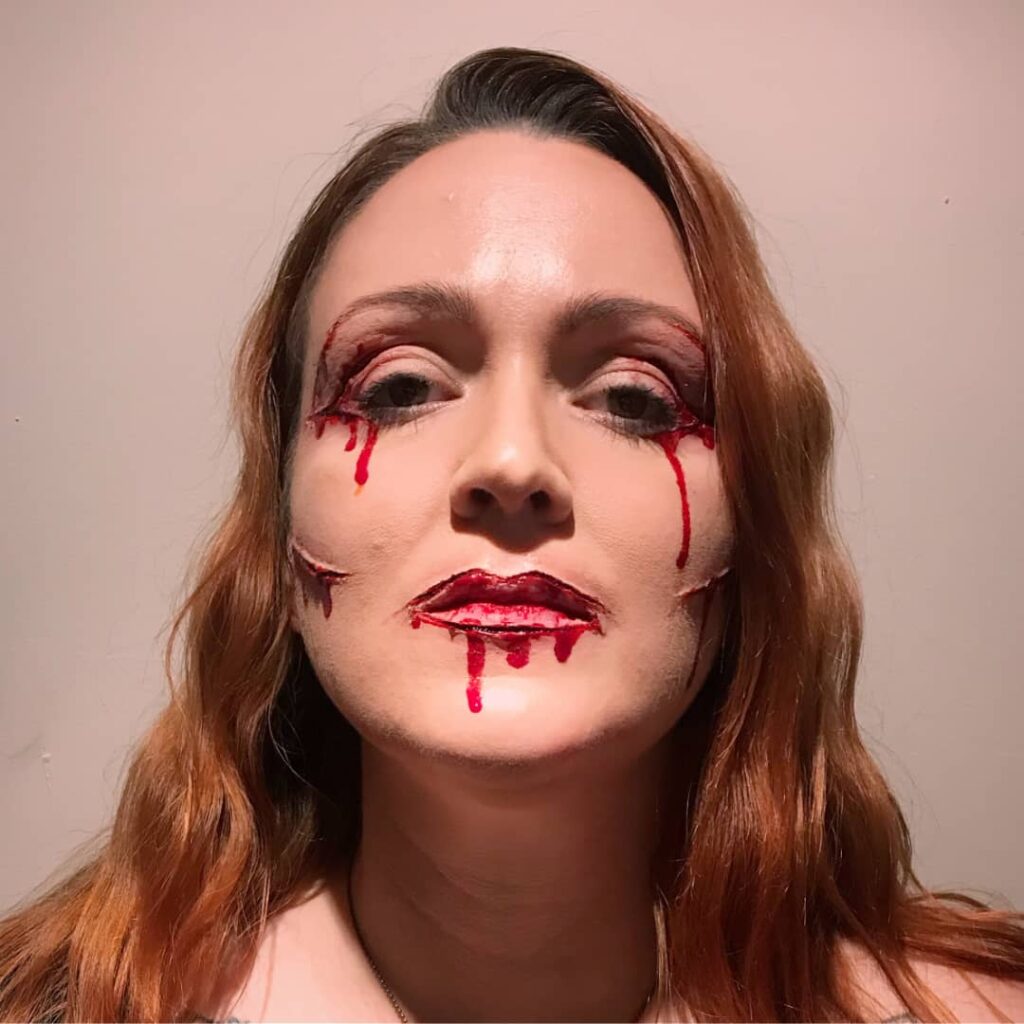
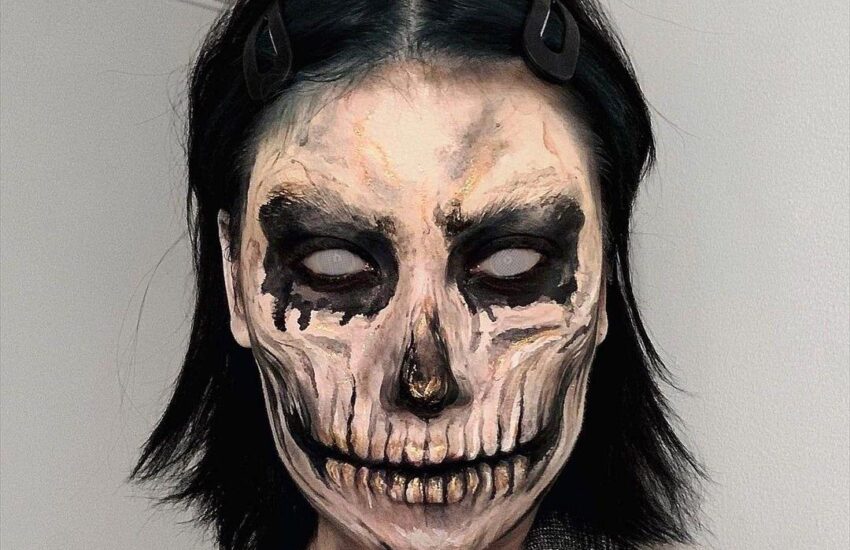
I will never forget my first real attempt at gore makeup. I was seventeen, armed with a cheap kit from a Halloween store and a dangerously optimistic attitude. I slathered liquid latex all over my arm, trying to create a ‘zombie bite.’ What I ended up with was a sticky, pinkish-gray mess that looked less like a wound and more like a wad of chewed-up bubble gum. It was a disaster. But you know what? It was also the moment I fell in love with the process. There is something incredibly fun about trying to create something terrifyingly real with your own two hands. Over the years, I have moved from sticky messes to creating effects that actually make people do a double-take. And that is the real goal, is it no? Not just to look scary, but to create a moment of genuine, wait, is that real? hesitation. Achieving that level of realism is easier than you might think, but it does require ditching the one-color-fits-all mentality. The secret is not in the blood, but in the story you tell with color and texture. The biggest leap in my gore makeup skills happened when I stopped thinking about what I thought a wound looked like and started paying attention to real injuries. I know, it sounds a bit grim, but stay with me. Think about a fresh paper cut. It is clean, bright red, and maybe beads up a little. Now, think about an old bruise. It is not just purple; it has greens, yellows, and deep blues around the edges. Realistic Halloween SFX makeup is all about layering these colors to mimic the body’s natural response. A simple cut is not just red. I start with a base of light purple or blue to simulate bruising under the skin. Then, I will create the cut itself, but I make sure to add darker reds and even a touch of black in the deepest part to create depth. If you are searching for a detailed gore makeup tutorial that focuses on safe, realistic effects for Halloween, you have found your guide. The final touch is the blood, and I do not just slather it on. I let it seep from the deepest point, and maybe trail a little, as if it were actually flowing. This attention to detail is what separates a convincing effect from a childish mess. You do not need a professional kit to get started. My go-to product, the absolute workhorse of my collection, is still liquid latex. You can use it to build up texture, create peeling skin, or even blend prosthetic pieces into your own skin. The key is to build it up in thin layers, letting each one dry completely. I have learned the hard way that thick globs of latex never dry properly and end up peeling off in one unsatisfying chunk.

Creme-based makeup: These are better than powders because they give you that waxy, skin-like texture. I have a basic palette with a foundation close to my skin tone, plus reds, blues, yellows, blacks, and purples.
Something for texture: Cotton balls or tissue paper are perfect. You can pull apart a cotton ball, stick it down with latex, and paint over it to create amazing raised scars or gross, infected wounds.
Good Fake Blood: Not all blood is created equal. The cheap stuff can be too pink or too runny. I look for a blood that has a slightly thicker consistency and a deeper, darker red color. Sometimes I even mix in a tiny bit of brown or black cream makeup to get the perfect shade for dried or old blood. Let us create a basic but effective gash. First, I cleanse my skin thoroughly. Then, using a makeup sponge, I strip on a light purple circle, larger than the wound will be, to act as my bruise. Next, I take my liquid latex and a toothpick and start to build up the edges of the cut, making them slightly raised and uneven. I might press a piece of tissue into the latex to create a more ragged texture. Once that is dry, the painting begins. I use a fine brush to paint the inside of the cut a dark reddish-black. Then, I use a lighter red on the very highest edges of the wound to make it look fresh. I blend the purple bruise outwards with my sponge so it does not have a harsh edge. The final, most satisfying step is the blood. I do not pour it; I dab it. I focus it in the center of the wound and let a little trickle out. The effect is instantly more believable. I cannot talk about gore makeup without mentioning safety. Your skin is sensitive, and some products can cause reactions. I always, and I mean always, do a patch test with a new product on my arm a day or two before I plan to use it on my face. The last thing you want on Halloween is an itchy, red rash underneath your masterpiece. Also, be extra careful around your eyes. And when it is time to take it all off, be patient. Use a gentle makeup remover or olive oil to loosen the latex instead of just ripping it off. Your skin will thank you in the morning. The best part about gore makeup is that there are no real rules. It is a chance to be creative and a little gross. It is okay if it is not perfect. Sometimes the imperfections make it look more real. So grab some latex, embrace the mess, and have fun terrifying your friends this Halloween. It is a hobby that truly gets under your skin, in the best way possible.
References
Special Make-Up Effects for Stage and Screen: Making and Applying Prosthetics by Todd Debreceni (2013) Book store listing:
Special Make-Up Effects by Vincent Kehoe various purchase listings: Books-A-Million: https://www.booksamillion.com/p/Special-Make-Up-Effects/Vincent-Kehoe/9780240800998
Special Make-Up Effects (Vincent Kehoe).
B&H Photo product page (Focal Press listing).
O’Reilly / institutional ebook listing (book record).

